Author: Jesse Higgins

How Long Does Stucco Last?

When considering the exterior of your home, you have quite a few choices for materials, like siding and stucco. How long does stucco last? You can expect 20 to 50 years of performance from the material. With trustworthy stucco repair in Tucson, you can extend the lifespan of your home’s exterior even further.

Estimating How Long Stucco Lasts

If you have concerns over the length of time that the stucco will last on your home, it’s a good idea to reach out to a professional for a stucco inspection. The inspector can give you advice on the condition of your stucco and whether you need any repairs. 

How long does stucco last when you take care of it properly? When you perform regular maintenance, you potentially can increase your stucco’s durability to 75 years or more. Some of the best ways to ensure a long-lasting stucco installation include:

  • Use a qualified stucco installer
  • Use a high-quality bonding agent
  • Perform annual inspections
  • Regularly clean the stucco
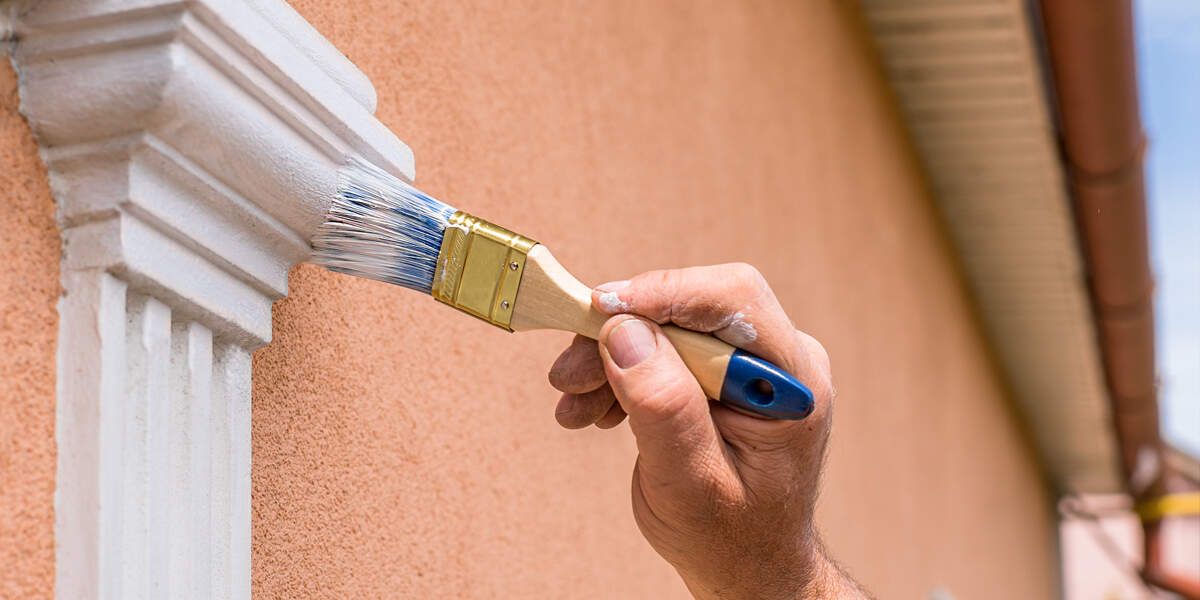
  • Apply a fresh coat of paint every few years
  • Address any problems like discoloration or cracks promptly

If you take these steps, you should receive the maximum level of performance when determining how long stucco lasts.

Why Do Stucco Cracks Reduce Longevity?

Although you might think a few tiny cracks add some character to your stucco installation, cracks are a clear sign that you need to take maintenance and repair steps. 

Issues With Freezing and Thawing

As cracks appear in the material, moisture potentially will collect inside the crack. Stucco has a porous design, so moisture can penetrate it normally. A crack provides another avenue for moisture to work its way into the material. Eventually, if you have a freeze-thaw cycle, the expansion of the frozen water inside the stucco makes cracks increase in size.

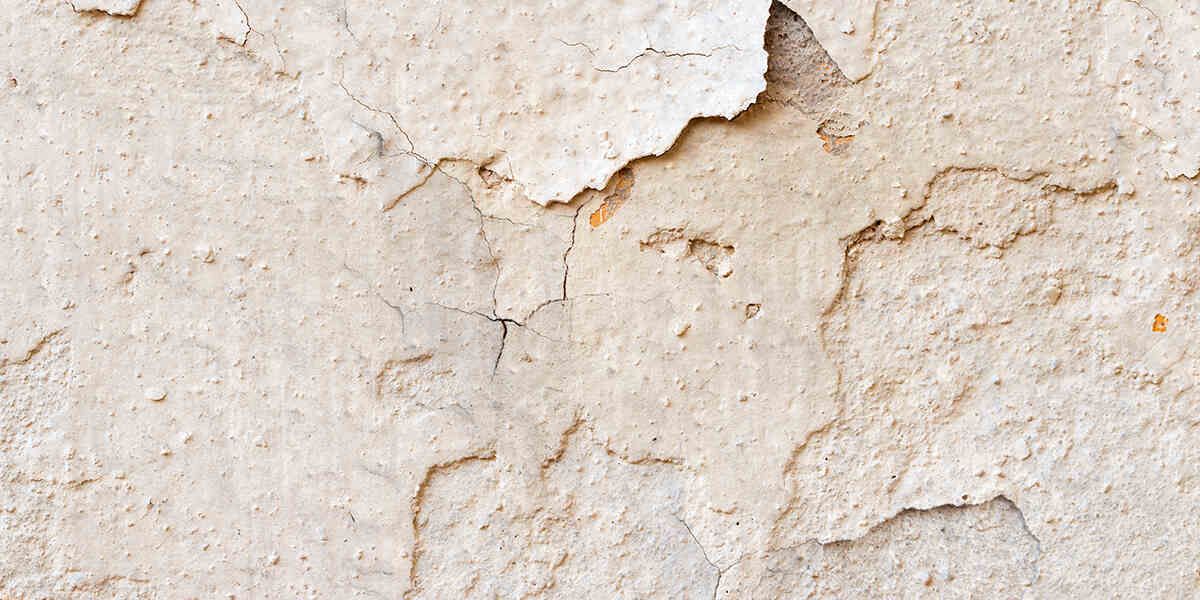
How long does stucco last when it has major cracks? You may eventually see entire sections of the stucco flake away or fall off the house when cracks widen. Larger cracks allow more moisture to penetrate the stucco layers, speeding up the damage that the freeze-thaw cycle causes.

Issues With Mold and Mildew

Even though Tucson rarely experiences freezing temperatures, cracks that allow moisture to penetrate the stucco can cause issues. As moisture accumulates in the stucco installation, it may allow mold and mildew to grow. This may create discoloration in the stucco.

Although it’s tempting to simply paint over the discoloration to make it disappear, you should have an inspection done first. If water penetration, mold, and mildew are causing the discoloration, you should schedule repairs to correct the underlying problem. A fresh coat of paint alone won’t fix the issue.

Key Items You May Find During a Stucco Inspection

When you want to be sure your stucco lasts as long as possible, regular inspections are important. Try to schedule inspections annually to give your stucco the attention it deserves. Some of the issues you may notice during inspections include:

  • Hairline cracks: If you or the inspector see hairline cracks, these are not a sign of major damage, but you should have them repaired. Usually, using a patching compound with a putty knife will do the trick on hairline cracks.
  • Dirt buildup: If you see dirt building up on the stucco, you should wash it with a mild cleaner. You can wash the stucco with a low-pressure washer or garden hose and spray nozzle. Too much water pressure can damage the stucco, though.
  • Larger cracks: Larger cracks may require hiring a repair professional who can ensure the repair goes smoothly and keep any further water out of the crack.
  • Discoloration: Any areas of the stucco that have discoloration or that may appear to have mold need a close inspection. Such areas may need repair to fix moisture issues.
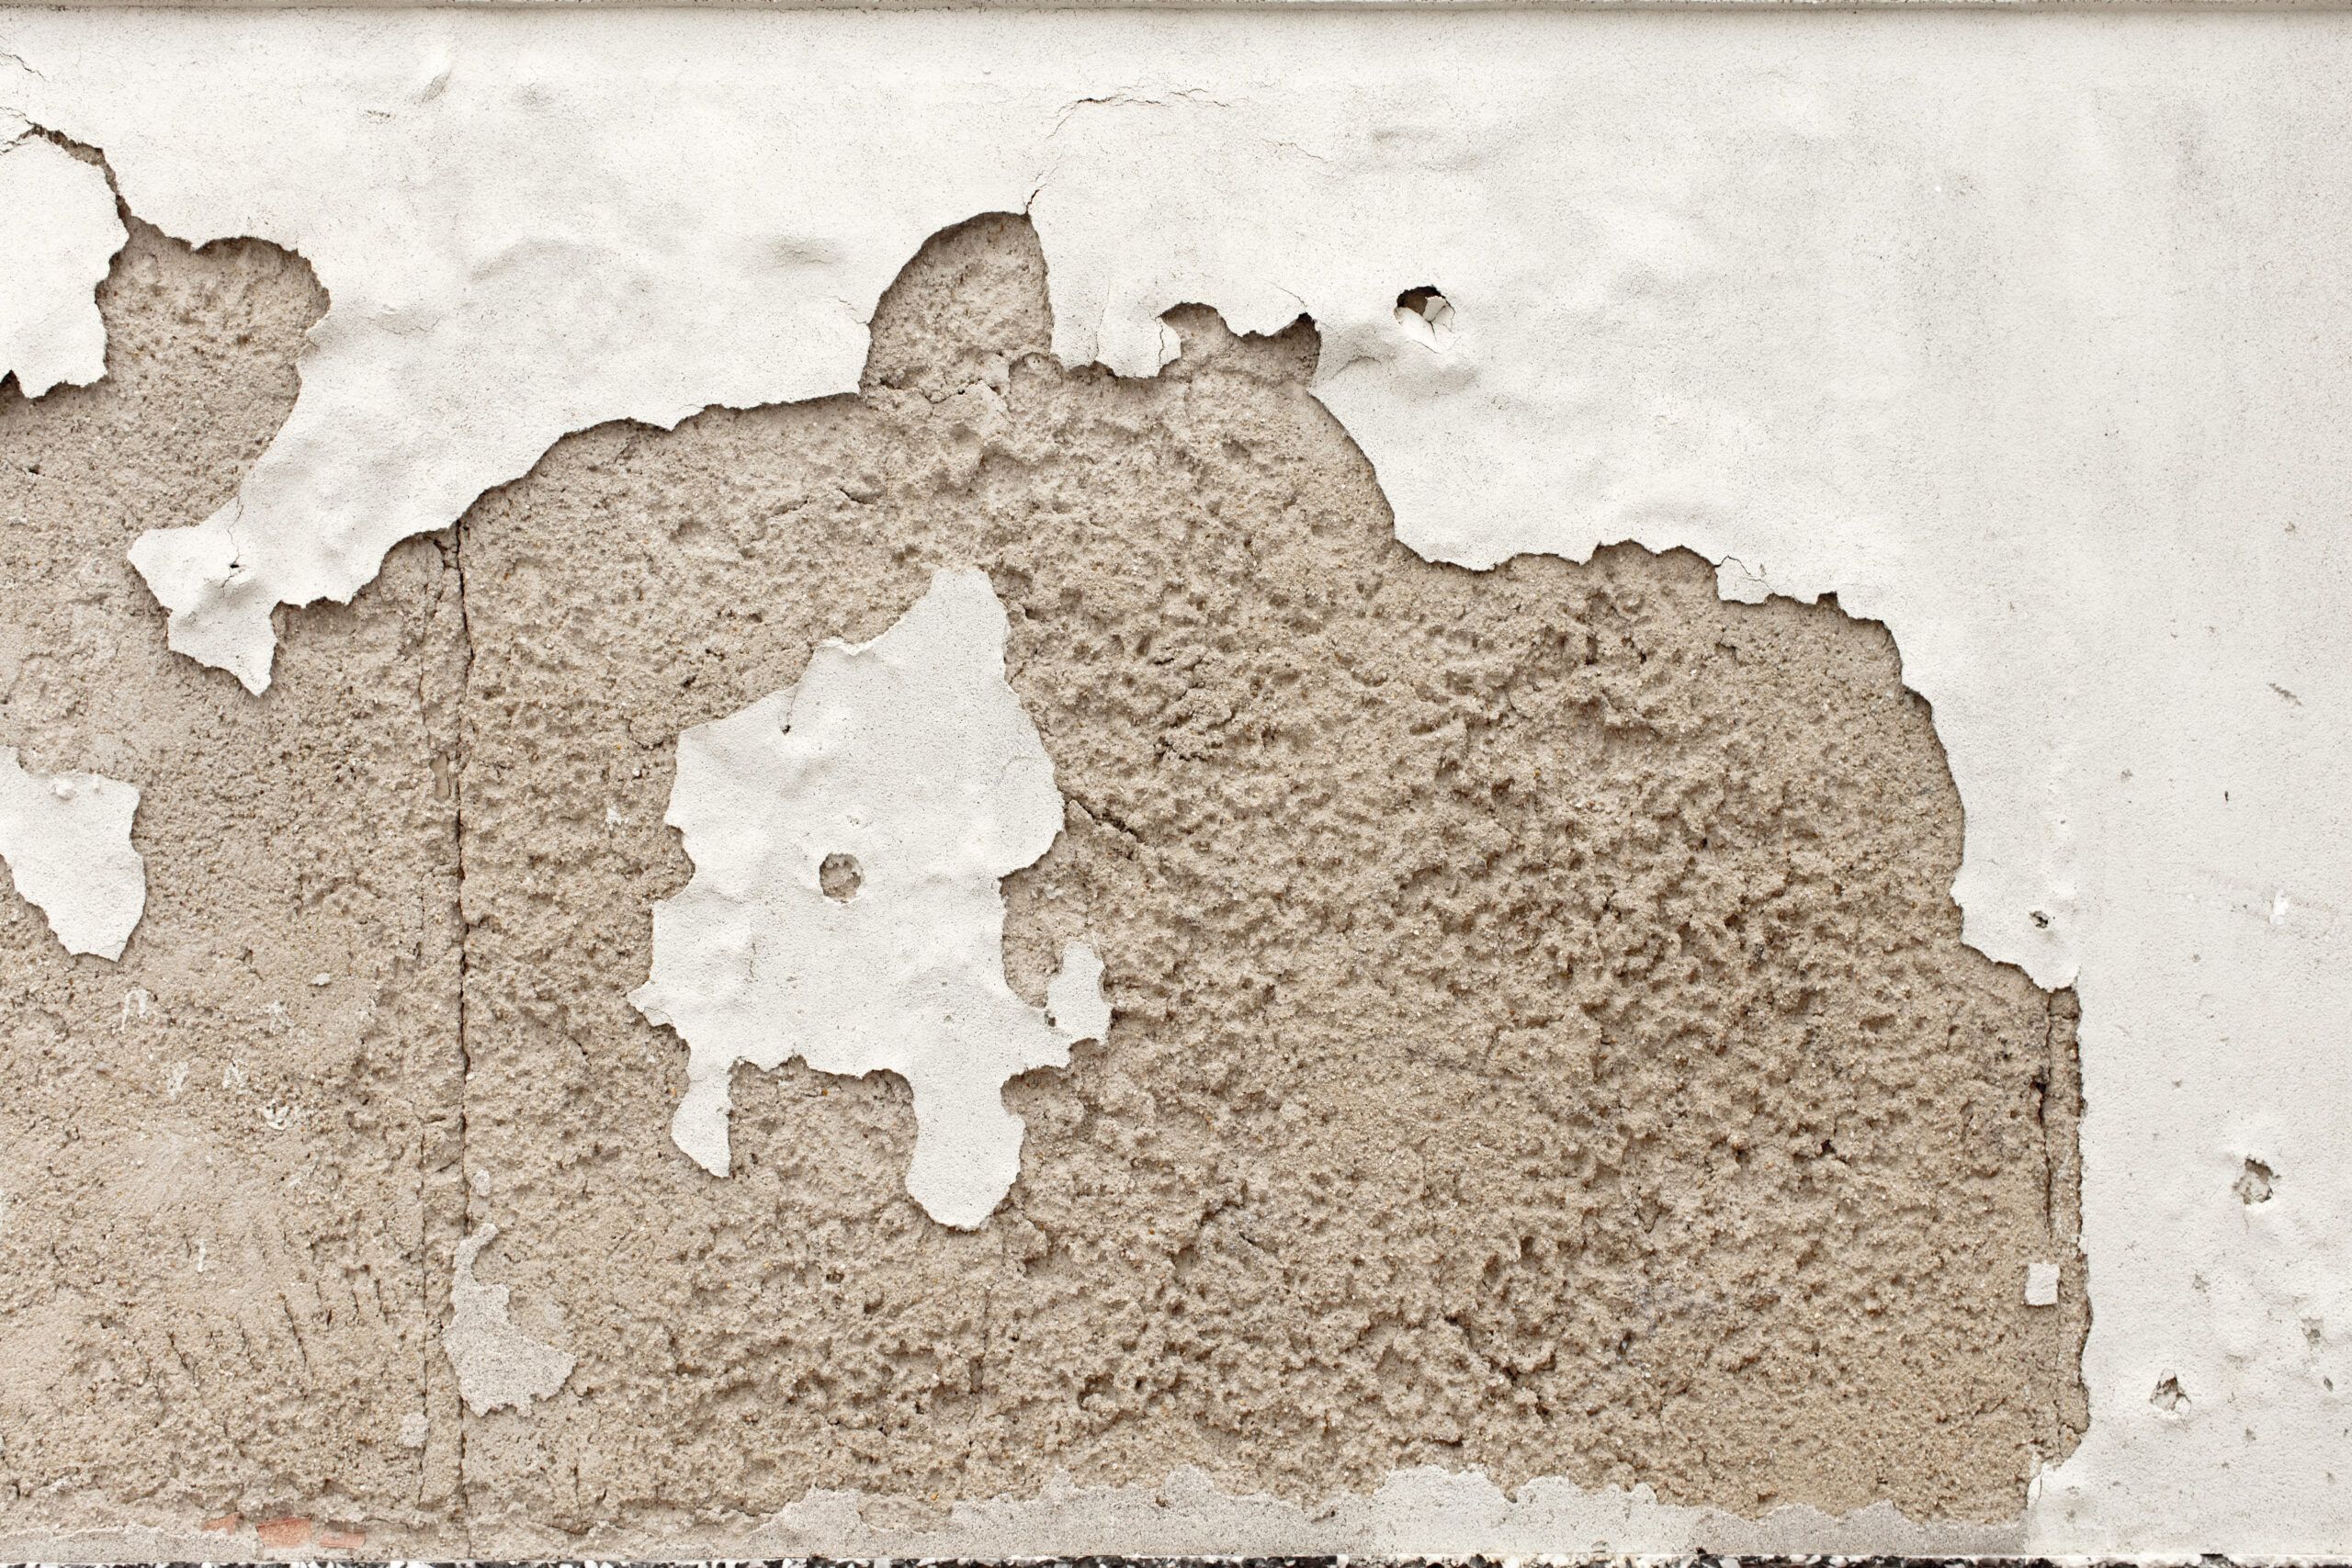
  • Flaking stucco: How long does stucco last when pieces are flaking off? Large chunks of stucco flaking or falling off the house is a sign that you may need a major repair or replacement.

How Long Does Stucco Last? Let Goodwin & Sons Painting Care for Your Stucco

Whether you need painting for your stucco, stucco maintenance, or another task on your home’s exterior, Goodwin & Sons Painting is ready to help. We perform stucco preservation tasks and repair cracks in stucco, too, helping you gain the longest possible lifespan from your stucco siding. 

We answer the question “How long does stucco last?” by taking steps to ensure the maximum stucco lifespan for you. Call us today at (520) 990-2445.

How Long Does Exterior Paint Last?

A 2023 survey found that almost 80% of homeowners believe painting a house’s exterior is the best way to improve its curb appeal. As long as you select the right paint colors, you can transform your home’s appearance. You may also increase its value, as some reports suggest exterior painting can provide a return on investment of over 50%.

But how long does exterior paint last? Before you hire trusted house painters in Tucson, AZ, to begin painting, it’ll help to know what the lifespan of exterior paint is. Read on to learn how long exterior paint should last.

Exterior Paint’s Average Lifespan

Answering the question, “How long does exterior paint last?” is tricky because, as you’ll find out in a few moments, many different factors can affect how much life you’ll get out of exterior paint. You’ll need to carefully consider each one to calculate how long you can anticipate exterior paint lasting.

Generally speaking, exterior paint should last at least five to 10 years. However, everything from the materials used to build your house to the paint you decide to put on it can impact its lifespan.

Still, you shouldn’t allow the same exterior paint to sit on your home for much more than a decade. It may start to drag down your house’s curb appeal.

Factors That Can Impact How Long Exterior Paint Lasts

Several factors play a part in how long you can keep the same exterior paint on your home. Check out the most important ones below and give thought to how each one will affect your home’s exterior paint.

Surface

Not every home in Tucson, AZ, and the surrounding areas have the same materials on the outside. Wood, aluminum, stucco, and brick are just a few different types of surfaces you might find on them.

The answer to the question, “How long does exterior paint last?” might come down to which surface you put paint on. Here’s how long exterior paint lasts on each one:

  • Wood: About three to seven years
  • Aluminum: About five years
  • Stucco: About five to 12 years
  • Brick: About eight to 17 years

The surface preparation that house painters do before painting your home’s exterior can also impact the lifespan of paint. If you hire inexperienced painters who cut corners while prepping, you could repaint your house sooner than you’d like.

Paint Quality

Picking out the right paint for your home’s exterior will be one of the most important steps when scheduling painting services. However, you should consider more than just which color paint you want to see. Look for high-quality paint designed to stand the test of time.

Acrylic, latex, and oil-based paints all have their pros and cons. Latex paints, for example, dry quickly and enable paint companies to put on two coats in one day while offering superior paint safety. Oil-based paints respond well to heat and inclement weather conditions.

Choose paint from a reputable manufacturer, even if it requires a larger investment on your part.

Climate

The climate in Arizona is a huge factor when answering the question, “How long does exterior paint last?” Those who live in Tucson or one of the neighboring cities are routinely subjected to triple-digit temperatures and the blistering hot sun, and the paint on their homes can fade because of it.

You can’t shield your home from the sun entirely, but you can use exterior paint built to stop the sun’s UV rays in their tracks.

Tips To Increase the Lifespan of Exterior Paint

There isn’t a definitive answer to the question, “How long does exterior paint last?” You can take steps to increase the lifespan of paint, though.

These tips should help:

  • Put down a quality primer on your home’s exterior before painting it.
  • Pick a light color for your home that won’t absorb the sun’s UV rays.
  • Arrange to put more than one coat of exterior paint on your home.
  • Prepare to perform the right maintenance on your home’s exterior.

Make sure you also call on the right painting company to paint your home’s exterior. It could make a major difference as you set out to find the answer to the question, “How long does exterior paint last?”

Hire Our Talented Residential Painters To Perform Exterior Painting

Is the outside of your home beginning to look the worse for wear? Stop letting the sun wreak havoc on it by hiring the residential and commercial painting professionals from Goodwin & Sons Painting to help.

Contact us if you have more questions similar to “How long does exterior paint last?”

How Much Does It Cost To Paint a House Exterior in Tucson?

There’s nothing more satisfying than driving up to your home at the end of a long day and seeing it looking positively immaculate. A fresh coat of paint can boost curb appeal and even elevate your home’s value if you’re looking to sell.

If you’ve landed here, you’re most likely wondering how much it will cost to paint your home’s exterior. Because every home is different, there’s no one-size-fits-all answer to this question. The investment for exterior painting services typically ranges between $3,000 to $6,000, but various factors can affect this cost. Keep reading to learn more.

Factors That Influence Home Exterior Painting Costs

Because you’re making a significant investment to beautify your home, it’s a good idea to have some background information before making a final decision.

By understanding the various factors that can increase (or decrease) the price of this project, you’ll be able to take control of your budget and do things on your terms. There are several factors that will inevitably influence how much the project costs, including the factors in the list below.

Size of the House

The size of your property tends to be the most influential on the final price tag because the size of your home affects all of the other costs, including the amount of paint required and the number of labor hours that will be needed to complete the project.

As you can imagine, the larger your home, the higher the cost. However, the cost may be higher for a smaller home with complicated features versus a larger home with minimal trim.

Type and Quality of Paint

You have the option of choosing the paint you’d like to coat your home. Higher-quality paint tends to be more expensive, but it can be worth the extra cost in the long-term because the paint job may last longer and look better overall.

Depending on your goals, you may opt for a higher level of paint quality or opt for weather-resistant paint. For example, if you plan on living in your home for years (or generations), you will likely appreciate having new-looking paint for a longer period that’s also easier to maintain.

Condition of the Surface

Any paint job is going to require prep work, so the condition of your home’s exterior surface is going to affect the total cost. The steps that happen in prep can include cleaning, scraping, sanding, and priming. Sometimes repair work may need to be done before the actual work can begin, and this work is going to add to the bill.

Paint Labor Costs

Included in a quote for an exterior house painting project will be a consideration for labor. This is, essentially, the man hours required to complete a painting job from start to finish. The cost can vary widely in Tucson, depending on the firm you choose. Don’t be fooled by a low price tag because cheap labor may equate to unskilled or inexperienced painters.

Generally, you can expect to pay a little more if the painting team is highly skilled and experienced. Further, be sure to confirm that the company is licensed and insured.

Additional Considerations

In addition to these factors, there could be additional considerations that can contribute to the overall cost of the exterior house painting project.

In creating a custom quote, here are some additional items to consider:

  • Complexity of the architectural design: More complicated structures are more difficult and time-consuming to paint, so there could be additional costs incurred.
  • Number of stories: Taller structures may require scaffolding and other safety-related infrastructure. Multi-story buildings are also more complex.
  • Multiple colors: Using multiple colors can create a beautiful contrast, but the additional paint, increased labor, and complexity of the job may add cost.
  • Seasonality: Depending on the season, a job could be more or less expensive. This often depends on how in-demand the company is. If you can book the job well in advance and choose a window when the business is slower, you may be able to secure a better price.

Contact the Professional Painting Services Team at Goodwin & Sons Painting

At Goodwin and Sons Painting, there is nothing we can’t do. As a family-owned business with premiere painting contractors, we are passionate about making your vision of a beautifully painted home a reality. From exterior and interior painting services to stucco installation and drywall projects, we are a one-stop shop for the painting and surface needs of Tucson home and business owners.

To schedule an appointment or request a quote, call us at (520) 990-2445.

How To Check for Moisture Behind Stucco

Stucco adds a unique visual appeal to your home and can hold up for decades. But like any building material, it doesn’t last forever.

If your stucco is cracking or crumbling, you know it’s seen better days. But how do you know whether moisture has penetrated the cracks and lurks deep beneath the surface? The consequences of undetected moisture range from cosmetic issues like discoloration to structural issues like rotting wood. 

In this post, an experienced stucco repair contractor in Tucson, AZ, discusses how to check for moisture behind stucco — and what to do if you find it.

Causes of Moisture Behind Stucco

Modern stucco walls include water-resistant barriers and pieces of metal called flashing to prevent moisture from entering your home. However, several factors can overwhelm stucco’s defenses:

  • Extreme weather: Our infamous summer monsoons and other precipitation can cause moisture to build up beneath stucco. The hot sun, hail storms, and windy conditions can also weather the exterior surface layer, reducing its ability to repel moisture.
  • Sprinkler systems: Consistent contact with water allows moisture to penetrate more deeply. If sprinklers regularly spray your exterior walls, the water may infiltrate your stucco. Planters and flowerbeds too close to your house can cause the same issue.
  • Improper installation: When properly installed, stucco has a system that evaporates or drains away moisture. However, inadequate or improperly installed flashing and insufficient sealing can allow excess water to accumulate.
  • Damaged stucco: If your home shifts, the soil expands, or the stucco deteriorates, water can seep through cracks.

Signs You Have Stucco Water Damage

You may already be alert to the signs of excess moisture in your home. But what about your exterior stucco? Many of the telltale signs are the same, including the following:  

  • Crumbling or cracked stucco: When the surface is damaged, it provides an entry point for water to seep in.
  • Peeling paint: Peeling paint, especially toward the bottom of the wall, often indicates moisture issues. 
  • Visible mold: Water entering through windows, improperly installed flashing, or other areas can cause mold overgrowth. If you see mold or moss on the stucco surface, there is a chance you have deeper issues.
  • Discoloration: Dark spots, streaks, stains, and other discoloration suggest mold infestations and moisture buildup.
  • Musty odors: Even if you don’t see mold growth, you may smell it. A musty odor is typically a dead giveaway.
  • Soft spots: Dents, swelling, blisters, and soft spots may suggest bigger problems, including water accumulation, insect infestations, and structural damage.

Ways To Confirm Moisture Behind Stucco

A visual inspection is a great place to start identifying water damage. However, advanced detection technologies can confirm you have moisture behind your stucco. 

  • Moisture meters: Moisture meters use differences in electrical resistance to identify pockets of wetness. Lower resistance indicates high moisture, while higher resistance indicates low moisture.
  • Thermal imaging: Infrared cameras highlight temperature differences between wet and dry areas, helping identify hidden moisture content.
  • Probe testing: Another option is exterior probe testing, which consists of drilling a hole into your wall and inserting a meter to evaluate moisture levels. Readings of more than 20% suggest you may have water damage behind your stucco.
  • Video scopes: A video camera can help visualize water damage in hard-to-see areas in your walls. However, if your walls are filled with insulation, video cameras are less useful for moisture detection. 

How To Repair Stucco Water Damage

Now that you know how to check for moisture behind stucco, how do you repair it? In cases of superficial damage, a contractor can patch imperfections and repair cracks to prevent moisture from infiltrating your walls. They may have to remove sections of your siding to look for signs of deeper damage.

However, quick fixes often don’t address the root of the issue. If you have more significant water damage, comprehensive stucco remediation is in order. This may include the following:

  • Repairing or replacing damaged areas
  • Making any needed structural repairs
  • Removing mold and mildew
  • Installing drainage planes behind the stucco
  • Removing and reinstalling the stucco siding
  • Reinstalling flashing, doors, windows, and gutters
  • Applying waterproof barriers

Need Help With Water-Damaged Stucco in Tucson? Call Us Today!

If you have more questions about how to check for moisture behind stucco, contact the local experts at Goodwin & Sons Painting. We are a family-owned business in Tucson, AZ, specializing in painting, drywall, and stucco installation and repair.

Whether you need help with water-damaged drywall or deteriorating stucco, give us a call today at (520) 990-2445 or contact us online for a free estimate.

What To Do About Stucco Delamination

Stucco delamination is something that every homeowner with stucco should know about. When it occurs, delamination can make it seem like your home’s walls are completely falling apart. Knowing how to respond will help you deal with the issue and prevent it from worsening. 

If you need stucco repair, you can count on the leading stucco repair company in Tucson, AZ

What Is Stucco Delamination?

Stucco consists of multiple layers of concrete-like materials with a wire mesh backing. These layers must all hold together for the stucco to maintain its appearance. 

Stucco delamination is when these layers start to separate. They may separate from each other or from the mesh itself. 

Causes of Stucco Delamination

Improper installation causes most cases of stucco delamination. If the installer does an improper job, the stucco is more likely to fall apart later on.

Potential installation issues are numerous. The problem could be the result of: 

  • Improperly prepared layers: The layers of stucco each rely on each other. If one is improperly prepared and starts to deteriorate, it will impact the entire wall. 
  • Moisture intrusion: Moisture is a major hazard for stucco walls that can cause them to deteriorate or lead to the buildup of harmful material, like mold and mildew. To prevent this, you need to take proper steps during installation and make sure to adhere to proper drainage system requirements
  • Freezing of the final layer during the finish coat application: The cement that makes up stucco contains water. If this water freezes during the installation process, it can cause the stucco to crack.  
  • A rushed job: Stucco layers need time to set, which means you cannot rush the process. If you do, some layers may not dry completely and will be less durable. 

Causes of EIFS Delamination

EIFS systems have entirely different potential causes of delamination. In these systems, the EPS foam can experience issues that cause delamination to occur. 

The foam, like the stucco layers, can have moisture enter and cause it to fail. The foam can also fail on its own. 

There are also cases where the foam itself entirely separates from the substrate. These types of substrate issues, like other issues with substrate, require extensive and costly repairs. 

Potential Problems From Stucco Delamination

Stucco that is falling apart reflects poorly on your home. It makes it seem like the house is falling apart and will only get worse with time. 

However, appearance isn’t the only problem it presents. Stucco delamination can also promote the growth of mold or encourage rot. If left untreated, it can also cause damage to the frame, leading to structural issues. 

What To Do About Stucco Delamination

The best course of action when dealing with stucco delamination is to get professional help. Stucco repair and remediation isn’t something that you should attempt to DIY. 

The reason for this comes back to the importance of proper stucco installation. Attempting to reinstall your home’s stucco opens up the door for another improper installation, leading to more issues down the road. 

With trusted professionals, you don’t need to worry about installation problems. Professionals can examine the stucco, determine the degree of damage, and provide a lasting solution. 

Fixing Stucco Delamination

The exact nature of a stucco fix will depend on how exactly it is separating. The degree and type of separation will have a dramatic impact on how much work you will need to do to fix it. 

  • Top layer separation: If the finish coat is the only part of the stucco that is falling apart, it is relatively easy to fix. The fix requires removing this top layer and replacing it. 
  • Lower layer separation: If the layers underneath the top layer are experiencing issues, repair will be more complex. You may need to remove and replace all the layers leading up to the compromised layer. 
  • Substrate separation: If the stucco completely separates from the substrate, the repairs will be the most extensive. In this case, you will need to remove nearly everything and reinstall the stucco. 

Addressing Your Stucco Issues

Stucco delamination isn’t an issue you should ignore. Doing so will only make the problem worse and can even lead to more issues. 

Goodwin & Sons Painting can help solve your stucco issues and help you increase its lifespan. We also offer residential and commercial painting so you can get your home or business looking better after we resolve your stucco problems. With us, the integrity of your property is in good hands. 

Call Goodwin & Sons Painting in Tucson, AZ, at 520-990-2445 for your estimate.

Here’s When To Worry About Cracks in Stucco

When you notice a crack in your stucco, a thousand questions may instantly run through your head. Is this crack the first of many, or will it stop here? Is it a sign something is wrong with your home? 

While there is a time to worry about stucco cracks, they aren’t always a problem. Knowing when to worry about cracks in stucco and when stucco repair in Tucson, AZ, is necessary is key to keeping your home stable and beautiful. 

Should You Worry About Stucco Cracks?

In some cases, stucco cracks are a sign that something is wrong with your home. They could indicate a foundation problem or a major settling issue. 

In these cases, the problem will get worse even if you fix the crack. Fixing the issue that is causing the cracks is key to stucco crack prevention. 

In other cases, stucco cracks are not a big deal. They commonly occur as a result of small issues, such as new home settlement or the mud mixture drying too quickly. In these cases, repairing the crack and not worrying is the best course of action. 

Signs Indicating Problems With Stucco

So, how do you know when to worry about cracks in stucco? There are signs you can look out for during a stucco crack assessment.  

Certain signs indicate the cracks are problematic. If you see these, you have cause for concern. 

Large Cracks

Stucco crack severity, as indicated by the size of the cracks, is the first sign to look out for. Hairline cracks, which are small and thin, are quite common. They are usually the result of small and natural changes and are quite innocuous.  

However, larger cracks are more of a problem. Specifically, look out for cracks that are larger than 1/16 of an inch in width. At this size, they turn from a normal occurrence into a sign that something is wrong with the house.  

Cross-Patterned Cracks

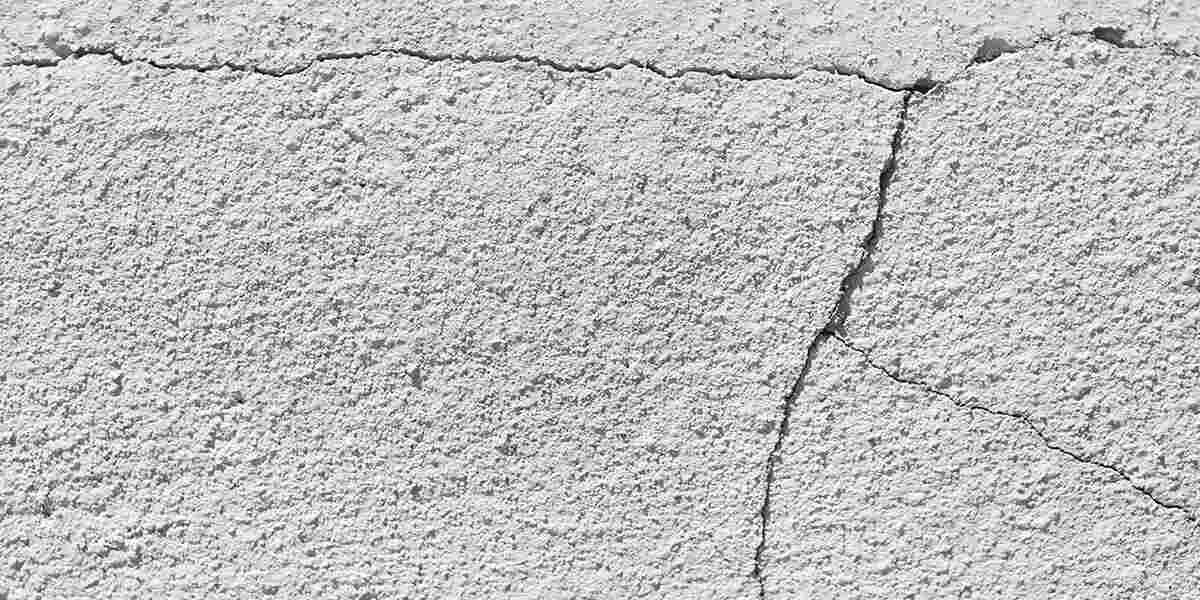
Small stucco cracks that simply run alongside each other aren’t much of a concern. However, if cracks come together to form a cross shape, there is an issue. Specifically, look for instances when vertical and horizontal cracks cross each other. 

Cross-patterned cracks indicate that the framework supporting the stucco is faulty. If left untreated, the cracks will only get worse, and the stucco could break away entirely. 

Diagonal Cracks

Diagonal cracks are another indication of when to worry about cracks in stucco. You’ll typically see these around door and window frames. 

These types of cracks point to foundation damage. The problems here vary, yet are serious. If your home has a foundation issue, you’ll want to take care of it as soon as possible. 

Cracks With Other Foundation Issue Signs

Stucco cracks, on their own, aren’t always a sign of foundation issues. However, when you notice a few minor cracks alongside other signs, there might be a problem. 

Other signs your home has a foundation issue include cracks in the drywall, sloped floors, and warped door frames. Any of these issues could appear on their own, or they may appear together. 

So, if you notice a few stucco cracks, you may not have a problem. However, if you notice stucco cracks and also see that your doors are sticking because of a warped frame, you are far more likely to have a problem. 

What To Do About Cracks in Stucco

When cracks form and don’t show signs of concern, you can fix them with basic stucco repair. You can attempt this yourself or get help from the professionals. 

If the cracks do show signs of concern, a stucco inspection is necessary. Having a professional look at the issue and determine what is wrong is the best option. From there, you can move forward with fixing the problem. 

While doing this, keep stucco crack repair timing in mind. Waiting longer to fix your stucco issues won’t make them go away. Instead, they are likely to get worse. 

Contact Goodwin and Sons Painting for Assistance

So when should you worry about cracks in stucco? If the cracks are exhibiting signs of a deeper issue, you should start to worry. In these cases, you’ll need professional help to deal with the problem. 

Whether you need intensive repairs or just some stucco crack maintenance, Goodwin and Sons Painting can help. We’re a family-owned business that knows how to look for and address issues with stucco. We even provide related services, like drywall repair

Are you worried about cracks or looking for help checking the moisture level behind your stucco? Give Goodwin and Sons Painting in Tucson, AZ, a call at 520-990-2445.

Why Call Pros for a Sagging Drywall Ceiling

If you notice your ceiling has begun to sag in some spots, your first instinct may be to get out a ladder and try to fix it yourself. While doing so could save you some money, it can also put you at risk of serious safety hazards. In the end, you may not actually fix the problem that led your ceiling to sag, and you put yourself in harm’s way in the process. 

Instead, you should always call professionals to fix a sagging drywall ceiling. An experienced drywall repair company in Tucson can quickly assess the problem and implement repairs while keeping you and your family safe. 

Common Causes of Sagging Drywall Ceilings 

Your ceiling could be bulging or sagging for a few different reasons, some of which are more complex than others. When you work with a professional, you can trust them to find the root cause of the issue and rectify it rather than just relieving pressure from the ceiling and moving on. 

Any of the following causes can lead your drywall ceiling to sag:

  • Age: Low-quality drywall can begin sagging over time due to wear and tear. 
  • Roof leaks: The sag or bulge in the drywall could actually be water accumulation due to a roof leak. 
  • Structural issues: Temperature changes can cause slight movement in your home, leading to structural issues in drywall. 
  • Vibrations from roller doors: If you have a rolling garage door, the vibrations from the door can place stress on the ceiling in nearby rooms. This stress worsens over time as you continue using the door.
  • Bad patch job: If you or a previous homeowner patched the drywall ceiling incorrectly, the area could begin sagging more quickly than other, more stable areas of the drywall. 
  • Termites: Termites can eat into the wooden studs in your ceiling, impacting the drywall ceiling support and causing it to sag. 

Whatever the cause, you can turn to experienced professionals for sagging ceiling remedies. 

Why Shouldn’t You Fix a Sagging Drywall Ceiling Yourself? 

If you have done drywall work in the past, you may see fixing your ceiling as a fun challenge that you have the skills to accomplish. But fixing a drywall ceiling is much different from patching a wall. You risk the ceiling coming down on you during the process, which can produce serious injuries.

Even if only small chunks of the drywall fall down during your ceiling drywall repair, they can damage your furniture and cause minor injuries. The cost to buy new furniture and fix the now-extensive damage to the drywall will be much higher than simply hiring a professional in the first place.  

At the very least, a DIY job probably won’t provide a long-term solution to your sagging ceiling. You may be able to replace the drywall on your own, but you also need to address the cause of the sagging. Additionally, amateur drywall jobs are more likely to wear down over time, potentially leading to sagging issues in the future. 

When you hire a professional to repair your drywall, you don’t need to worry about any of these issues. They will safely patch the drywall, address the issue that led to the sagging, and prevent future problems. 

Professional Drywall Ceiling Repair Process 

Drywall repair companies follow specific protocols for fixing sagging drywall ceilings. 

First, they evaluate all of the potential contributing factors that caused the ceiling to sag. This may involve going into your attic to look for water damage, evaluating your ceiling’s structural support, or even assessing your foundation.

If they suspect a larger issue at play, they may call upon another professional to adequately address it before starting the drywall repair. For example, if you have issues with your foundation, you may need a waterproofing or construction company to fix them. 

When it’s time to repair the drywall, your contractors will remove the damaged portion of the ceiling, take out the drywall screws, and install durable 5/8-in. drywall in its place. Alternatively, they may add a new ceiling below your existing one to ensure adequate support across the entire ceiling. 

Call Goodwin & Sons: Tucson’s Drywall Pros

Instead of attempting a DIY drywall ceiling repair and putting your safety at risk, hand the job over to our experienced professionals. At Goodwin & Sons, we use premium ceiling renovation solutions to repair and replace sagging drywall ceilings. We also offer professional interior painting services to complete the job. 

Call Goodwin & Sons today at 520-990-2445 to request an estimate for sagging drywall ceiling repair in Tucson, AZ. 

What Causes Nail Pops in Drywall?

Have you noticed small bumps or circles bulging out of your drywall? These are likely nail pops, or nail heads popping out of the wall frame. These imperfections can be unsightly, challenging to paint over, and potentially indicative of an underlying problem with your home’s construction. 

Even if you don’t mind the look of nail pops, identifying their source is important to protecting your home’s integrity. Learn what causes nail pops in drywall and what you can do about them. 

What Are Nail Pops in Drywall? 

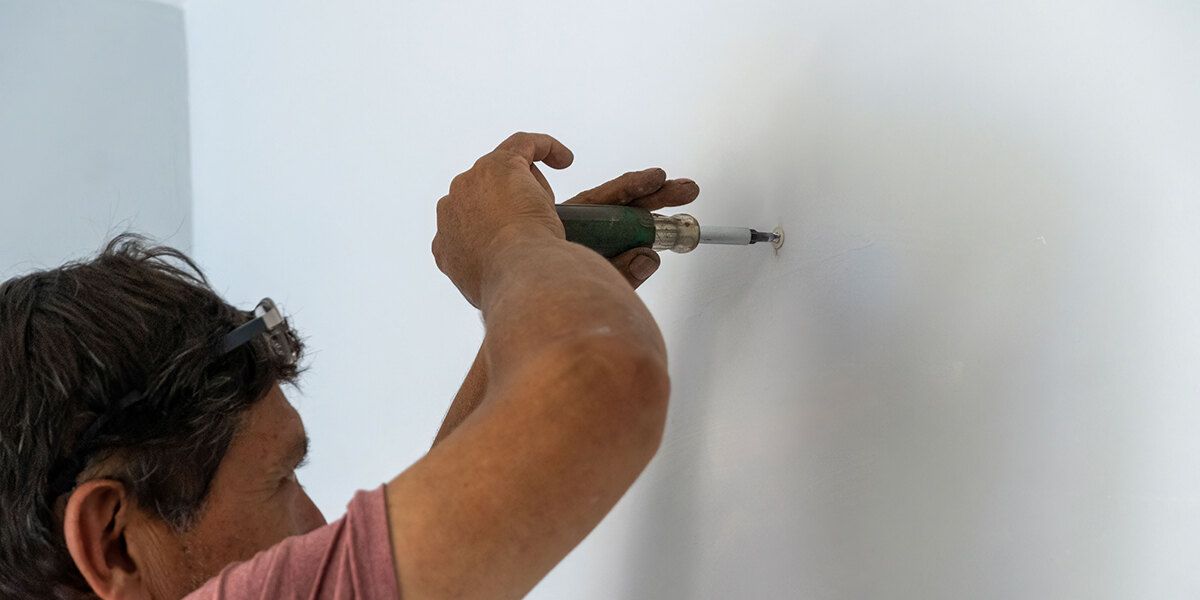
Nail pops are small bumps, cracks, or splits in the wall that occur due to a nail head protruding into the drywall. They’re more common in older homes that use large roofing nails in wall construction instead of drywall screws. But they can also occur in newer homes when drywall screws shift around in the wood frame. 

Nail pops can range in severity depending on how harshly the nail head is pushing into the drywall. They may look like a very small, round bulge. Other times, the nail completely breaks through the drywall, leading to cracks or splits around a circular center point. 

Nail pops interrupt the otherwise smooth appearance of the wall. Painting over them requires a little extra care than rolling paint on a smooth surface. You’ll also be able to see them no matter how many coats of paint you apply, creating an eyesore in your space. 

However, nail pops sometimes point to a structural problem in your home as well. If you see more than one or two nail pops throughout your property, you’ll want to look into their cause to rule out any major foundation problems. 

Common Causes of Nail Pops 

What causes nail pops in drywall? There isn’t always a single answer. Your wall may have developed nail pops due to a few different issues, and most aren’t outwardly visible. That’s why you need a drywall repair company in Tucson to evaluate the underlying cause of the nail pops before you can adequately mitigate them. 

These are the most common causes of nail pops in drywall.

Subpar Construction Materials

Nail pops occur when the nail or drywall screw shifts out of the wood framing and bulges into the drywall. It makes sense that cheap or subpar construction materials would be the main cause of this issue. 

Drywall nails and screws that are made of durable materials and that adequately latch onto the wood won’t shift much over time. But if your home builders skimped on quality during the drywall installation — or your home is fairly old and uses antiquated building materials — you’re more likely to eventually see the nails and screws shift.

Natural Contraction in the Wood Frame

Wood naturally expands and contracts over time. This happens mainly when the wood loses or gains moisture. Losing moisture causes the wood to contract, while gaining moisture due to excessive humidity or failing insulation could cause the wood to expand. 

Slight shifts in the wood shouldn’t impact your home’s structure too severely. However, if you notice many drywall pops in a single area and you surmise they are from moisture, you may want to have your home’s insulation examined. 

Foundation Settlement 

The most concerning answer to what causes nail pops in drywall is foundation settlement. If your home’s foundation unevenly settles or shifts, it can place strain on the drywall and framing. It may lead the nails to pop out of the framing or cause the drywall to shift into the nails. 

How To Fix Drywall Nail Pops 

Fixing nail pops requires two main steps: identifying the source of the nail pops and repairing the drywall and framing. 

First, call a professional foundation inspector to evaluate your home’s foundation and determine whether it has significantly shifted. If it has, you need to repair it as soon as possible to prevent further issues. Foundation problems can lead to floor cracking, sloping floors, and the instability of your home’s structure. 

After you have assessed the cause of the nail pops and gotten the all-clear, you can call a drywall repair company to fix the cosmetic damage from the nail pops. Drywall repair professionals will:

  • Uncover the nailhead
  • Push it back into the wood frame
  • Add drywall screws to the frame for additional support
  • Patch holes and leave behind a smooth surface

Fix Unsightly Nail Pops With Goodwin & Sons Painting

At Goodwin & Sons Painting, we provide comprehensive exterior and interior painting services, including drywall repair. Wondering what to do about stucco delamination? Call us today at 520-990-2445 to learn more about what causes nail pops in drywall and to schedule a repair service. See how we can help.

Popcorn Ceiling Crack Repair: How It Works

Popcorn ceilings enjoyed their heyday of popularity a few decades ago. The quirky, cost-efficient popcorn ceiling texture helps cover up flaws while reducing noise. Today, however, popcorn ceilings are hopelessly outdated, and older ceilings often show signs of wear.

If you notice a crack running along your textured ceiling, you should contact a service that provides popcorn ceiling crack repair and expert drywall repair in Tucson. A drywall professional can suggest the best way to fix and upgrade your ceiling in a way that complements your home’s interior

What Is a Popcorn Ceiling?

popcorn ceiling features a bumpy surface consisting of many little polystyrene or vermiculite particles that offer sound-muffling properties. For decades, popcorn was the go-to ceiling type for bedrooms, hallways, and other spaces where reducing noise was important. The texture of a popcorn ceiling also made it easier to hide unevenness or imperfections. 

On top of their unfashionable look, popcorn ceilings in older homes may also contain asbestos. If you know your ceiling was installed in the 1980s or earlier, contact professional repair services to assess and remove this potential hazard. 

Repairing Cracks in a Popcorn Ceiling

Apart from unsightly appearance, cracks in a popcorn ceiling can point to a bigger issue, like moisture damage or a structural problem. When you hire a drywall and texture professional to repair your ceiling, the steps they take will usually be as follows. 

1. Damage Identification

First, the crewmen will examine your ceiling to understand why the damage occurred. Without fixing the original issue, a newly repaired ceiling may crack again, and the original problem will persist. 

If the repair team discovers an underlying issue, they’ll let you know and discuss possible solutions. For example, if you’re dealing with a leak, you’ll need a solution for moisture damage prevention before you proceed to any cosmetic repairs. 

2. Cleaning, Scraping, and Sanding

Popcorn ceiling crack repair is messy, so the crew will start by covering any furniture or flooring with plastic sheets. The next step is cleaning any accumulated dust, cobwebs, and other debris that may have become stuck in the tiny crevices of the stucco ceiling. Then, your ceiling will get a spraying of hot water to soften the popcorn-like texture and make it easier to remove. 

Next, the drywall and texture pros will begin scraping off the popcorn texture. This is a tedious process, and it’s important to be gentle to avoid any drywall damage. Stubborn popcorn ceiling patches may need an additional hot water treatment. 

Once all the popcorn texture is gone, the sanding process begins. Depending on the size of the ceiling, the crew may use a manual or an electric sander. This is another time-consuming step involving a lot of dust, so keep your family and pets away from the repair area. 

3. Applying Drywall Compound

At this point, the repair crew will use a drywall joint compound to fill any cracks or holes in the ceiling. It’s important to apply the compound evenly and ensure it has dried thoroughly before proceeding. Once the compound has dried, the ceiling will typically require another, finer-grain sanding. 

4. Choosing New Ceiling Texture and Paint

Today, interior design leans more toward clean, crisp lines rather than the bumpy texture of popcorn ceilings. Thus, you might decide you want a perfectly smooth ceiling. Alternatively, you may go with a textured but different, more modern-looking ceiling design.

Even though they’re less trendy today, textured ceilings can be practical and functional. They’re easy to install and are good at absorbing sound. And if you have a very uneven ceiling, textured paint can help hide blemishes. 

Your choice will depend on whether you’re removing and upgrading your entire ceiling or repairing a localized crack. If you decide on the latter, the crew will do its best to match the texture of the existing popcorn ceiling.

The final (and probably most fun) step is choosing a color for your ceiling. Lighter colors will usually make the ceiling look higher and brighten up your space. You can also choose a color that contrasts with your walls.

Need To Repair or Upgrade Your Ceiling? Call Goodwin & Sons

Is your old popcorn ceiling cracking, peeling, or showing other signs of damage? Call us at Goodwin & Sons. We provide quality popcorn ceiling crack repair, interior painting, and high-end drywall and texture solutions in Tucson, AZ. 

Call (520) 990-2445 or fill out our quick online form for a free estimate. 

Here’s How Experts Repair Water-Damaged Drywall

Despite the dry climate, water damage is a common occurrence in Tucson homes and businesses. Flash floods and monsoons can result in rapid surface runoff, roof leaks, or both. Further, no region on the planet is immune to pipe leaks, burst pipes, appliance malfunctions, and plumbing failures.

Any of these situations can lead to water-damaged drywall, making it necessary to find an expert to do drywall repair in Tucson.

The good news is that drywall damaged by water can indeed be repaired. The trick is finding an expert who can do the job right, making your space look as good as new.

Why Repairing Damaged Drywall Is Important

Water-damaged walls aren’t just an eyesore, they’re also a safety hazard. Ignoring drywall damage can cause further damage, compromising the structural integrity of the building. Continued exposure to the water ultimately weakens the drywall, leading to sagging, warping, and even collapse.

As you can imagine, this can have detrimental effects on property values and lead to costly repairs in the long term.

In addition to the potential for catastrophic structural damage, property owners are also at risk of exposing their families and customers to mold. The presence of mold has a detrimental effect on indoor air quality, and about 20% of people have mold allergies. Prolonged mold exposure is linked to a variety of health conditions, including asthma, sinusitis, and severe infections.   

Other hazards could also exist when damaged drywall is neglected. For example, water-damaged drywall that is near electrical wiring can cause short circuits and fires.

10 Steps Experts Take To Repair Water-Damaged Drywall

Any time there is an incident involving water that causes damage to drywall, there’s a step-by-step process that should be followed to repair any damage. Our team of experts recommends the following procedure:

  1. Ensure proper safety. Safety is always a top priority at Goodwin & Sons Painting. We start by checking for electrical hazards and turning off power around affected areas.
     
  2. Assess the damage. Before any work begins, we do a thorough inspection of the damaged drywall and the surrounding areas. We specifically look for signs of peeling paint, swelling, warping, and softness.
     
  3. Remove damaged drywall. When only a portion of the wall is damaged, we can cut away the damaged drywall using the appropriate tools. We work carefully to cut along the edges of any affected areas, creating clean lines for easy (and seamless) replacement.
     
  4. Inspect insulation and structural elements. After cutting away portions of damaged drywall, we have better access to inspect the insulation and other underlying structures. If the insulation is wet, for example, we may recommend having it replaced.
     
  5. Dry the affected areas. If any areas are still wet, we will make sure to dry them thoroughly. This may involve the use of fans, dehumidifiers, or opening windows to allow for air circulation.
     
  6. Engage in mold remediation. Whenever water damage is present, mold is always a risk. Depending on what we find, we may treat the area with a mold inhibitor or collaborate with a team to handle professional mold remediation.
     
  7. Replace (or repair) drywall. The choice to repair a hole in the drywall or replace it with a full sheet is dependent on the size of the hole we cut when we removed the affected area. Smaller holes or cracks can often be repaired with a patch or joint compound.
     
  8. Apply joint compound. To ensure a seamless look after the repair, we apply joint compound. We employ a feathering technique to blend the edges of the surrounding wall.
     
  9. Paint the wall. After the joint compound is dry, we’ll do a final sanding of the area, prime the wall, and then apply paint in your color choice to ensure an even color and texture.
     
  10. Perform a final inspection. Once everything has been repaired, we inspect the area again to ensure that there are no further signs of damage.

Preventing future issues is important, and it can save you the heartache of having to call drywall experts repeatedly to your home or office. We will work with you to identify and address the source of any water damage.

Contact an Expert for Drywall Repair Services

Repairing or replacing water-damaged drywall can be a big job, and it can be a difficult project to take on by yourself, especially when you add on the task of interior painting. If you’re dealing with additional challenges like popcorn ceiling crack repair or nail pops in your drywall, seeking professional assistance may ensure a more comprehensive and effective solution.

If you want your walls to look as perfect as possible, trust the professionals at Goodwin & Sons Painting to repair water-damaged drywall. We also handle stucco crack repairs. You can call us at (520) 990-2445 or contact us online to request an estimate.